RGBitsy
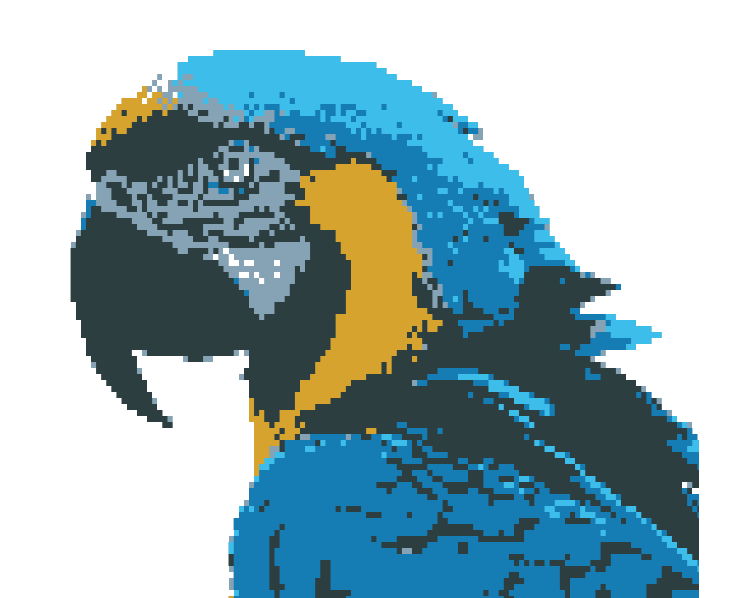
RGBitsy processes color images into Bitsy room data to use in your projects.
Standard Bitsy works with 3 color channels for each palette: background, tile and sprite. Making use of some hacks, we can build up images with more than 3 colors using layers of items.
However, this approach can result in very large game files and affect performance. RGBitsy is designed to help minimise the amount of data required, whilst still producing good quality images.
Usage
RGBitsy runs as a workflow and you have options at each stage.
1. Color processing:
- Load your image.
- Show and hide the grid.
- Zoom in / out.
- Drag on the image to move it.
- Mess about with saturation and lightness.
- Select the Bitsy version you are working with (standard or HD (see below for important information on using HD)).
- Choose how many colors your final image will have (up to 16), or you can import an existing Bitsy palette by pasting text into the box. If you only need 2 colors, consider using image-to-bitsy, which has a simpler workflow.
- Choose whether to use dithering to show gradual colour changes. This can improve visual results for continuous-tone images (e.g. photographs), but is likely to increase the number of tiles needed.
- Click on the button to start the color processing. RGBitsy searches for the closest fit palette to the image and displays the result.
- The search results often vary from one run to the next. You can click on the button again to try for a different result.
- Click on the palette to lock / unlock individual colors. Locked colors are shown with grey borders.
- Double-click on the palette to pick a particular color from the image that you want to include.
2. Tile processing:
- To reduce the image complexity, RGBitsy merges tiles that are similar. You can choose to measure similarity by color or by channel. In general, color similarity produces better results, as pairs of tiles that are close in color are considered more similar than pairs that are very different colors. Channel similarity treats any pair of non-identical colors as equally distant, so it can give a glitchy effect that might be interesting for some projects.
- Choose the maximum number of tiles to be produced. High values give higher quality images but result in bigger files.
- Click on the button to process the tiles.
- For low tile numbers, results will vary from one run to the next. You can re-run and adjust parameters until you get a result that you like.
- The actual number of tiles produced is shown. This may be lower than the maximum, for example if the original image contained large areas of flat color.
3. Layer processing:
- There are a few ways in which the image can be converted to room data. The background and tile layers can both be turned on or off. If neither is used, all the image data goes into the item layers. Game performance will be better if you leave them switched on, however you may want to use background and tile for other purposes.
- When background and/or tile are enabled, you can manually select the layers to use by clicking on the palette (unless you are using an imported palette, in which case these are fixed). The blue border indicates background and the green border shows tile. If you leave these unselected then RGBitsy will adjust the layer order to minimise the number of tiles produced.
- When the tile layer is active, you can select additional "foreground" layers (pink borders). These pixels will be added to the tile layer to create a silhouette, which you can use as a placeholder in the Bitsy editor while you continue to develop your game. Note that this isn't necessarily the literal foreground of the image. For example, to use a landscape photo in a game, we probably want the sky to be considered foreground and the land as background, so the avatar can move around on land but not into the sky area, which can be marked as wall.
- The order of color layers is important because lower layers are masked by layers above. By default, layers will be optimised so that the smallest number of tiles needed to produce the image is found. If your project requires that the color information remain intact for each individual tile, you can turn off this optimisation. The layer order then becomes irrelevant, but the game data increases considerably.
- When merging tiles during layer processing, we can accept a small number of pixels difference between tiles in order to further reduce the file size. Setting tolerance to zero will result in a final image that is identical to the tile processing result. Higher values can sometimes give interesting effects.
- Click the button to start the layer processing. The final image is shown, together with its silhouette.
4. Download:
- Now choose a project name, set the room number and click the buttons to download the room and silhouette data. If the palette was not imported in step 1, the palette number in the data files is set to match the room number.
- Buttons are also provided to copy the data to the clipboard.
- Optionally, you can mark all of the tiles in the silhouette as walls to speed up the room editing process.
Importing to your project
To import the room, simply paste the silhouette data into your Bitsy game data panel. You won't see the other colors in the editor, just the silhouette. You can now continue to develop the game in the normal way, adding sprites, items, exits etc. To mark/unmark specific tiles as walls, remember that you can select a tile from the room panel using alt-click.
When the game is ready, you will need to copy the item information for each room into your exported HTML file to restore the color images. There is another tool to help with this.
Inserting the hacks (important!)
You will need to add both the transparent sprites and permanent items hacks to your game before the images will display properly. To make the RGBitsy items permanent without affecting the normal behaviour of other game items, use the following hackOption:
itemIsPermanent: function (item) { return item.id.startsWith('_'); }
***
Note for using BitsyHD:
The last available version of BitsyHD is not compatible with the newest versions of the hacks, so you will need to use the older versions that are linked below.
***
Good luck and have fun!
Want to make a sprite or avatar from your image? Use RGBsprite.
Need inspiration? Check out some games made with RGBitsy. Let me know if you'd like to add your work to this collection!
Download